
Windsurf
Configure Windsurf to use HTFlow MCP for website generation.
Endpoint
https://mcp.htflow.com/mcp Config path
Windsurf MCP settingsSETUP GUIDE
API tokens Connect Windsurf to HTFlow
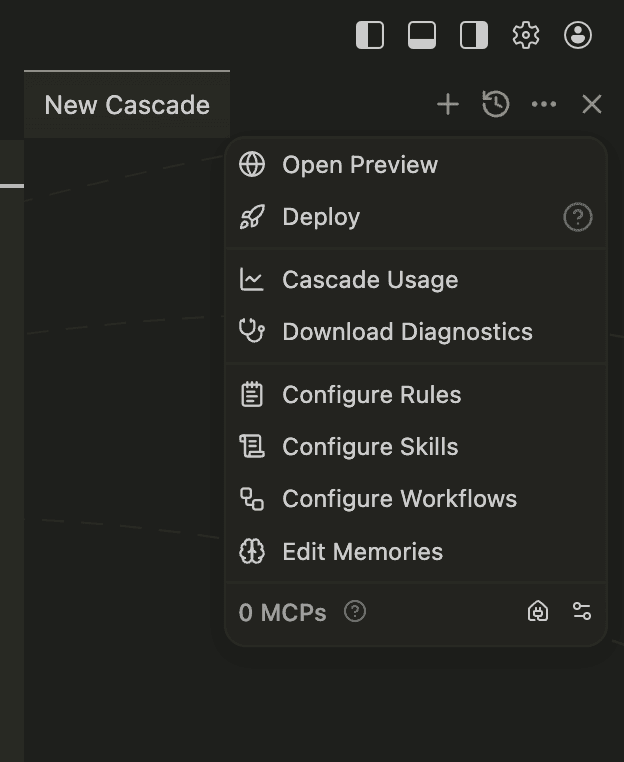
Open Windsurf and start a New Cascade. Click the three-dot menu (···) in the top-right corner of the Cascade panel. At the bottom you'll see "0 MCPs" — click the settings icon next to it.
This opens the mcp_config.json file at ~/.codeium/windsurf/mcp_config.json. Paste the config below and replace YOUR_TOKEN with your real HTFlow API token. Windsurf uses serverUrl instead of url.
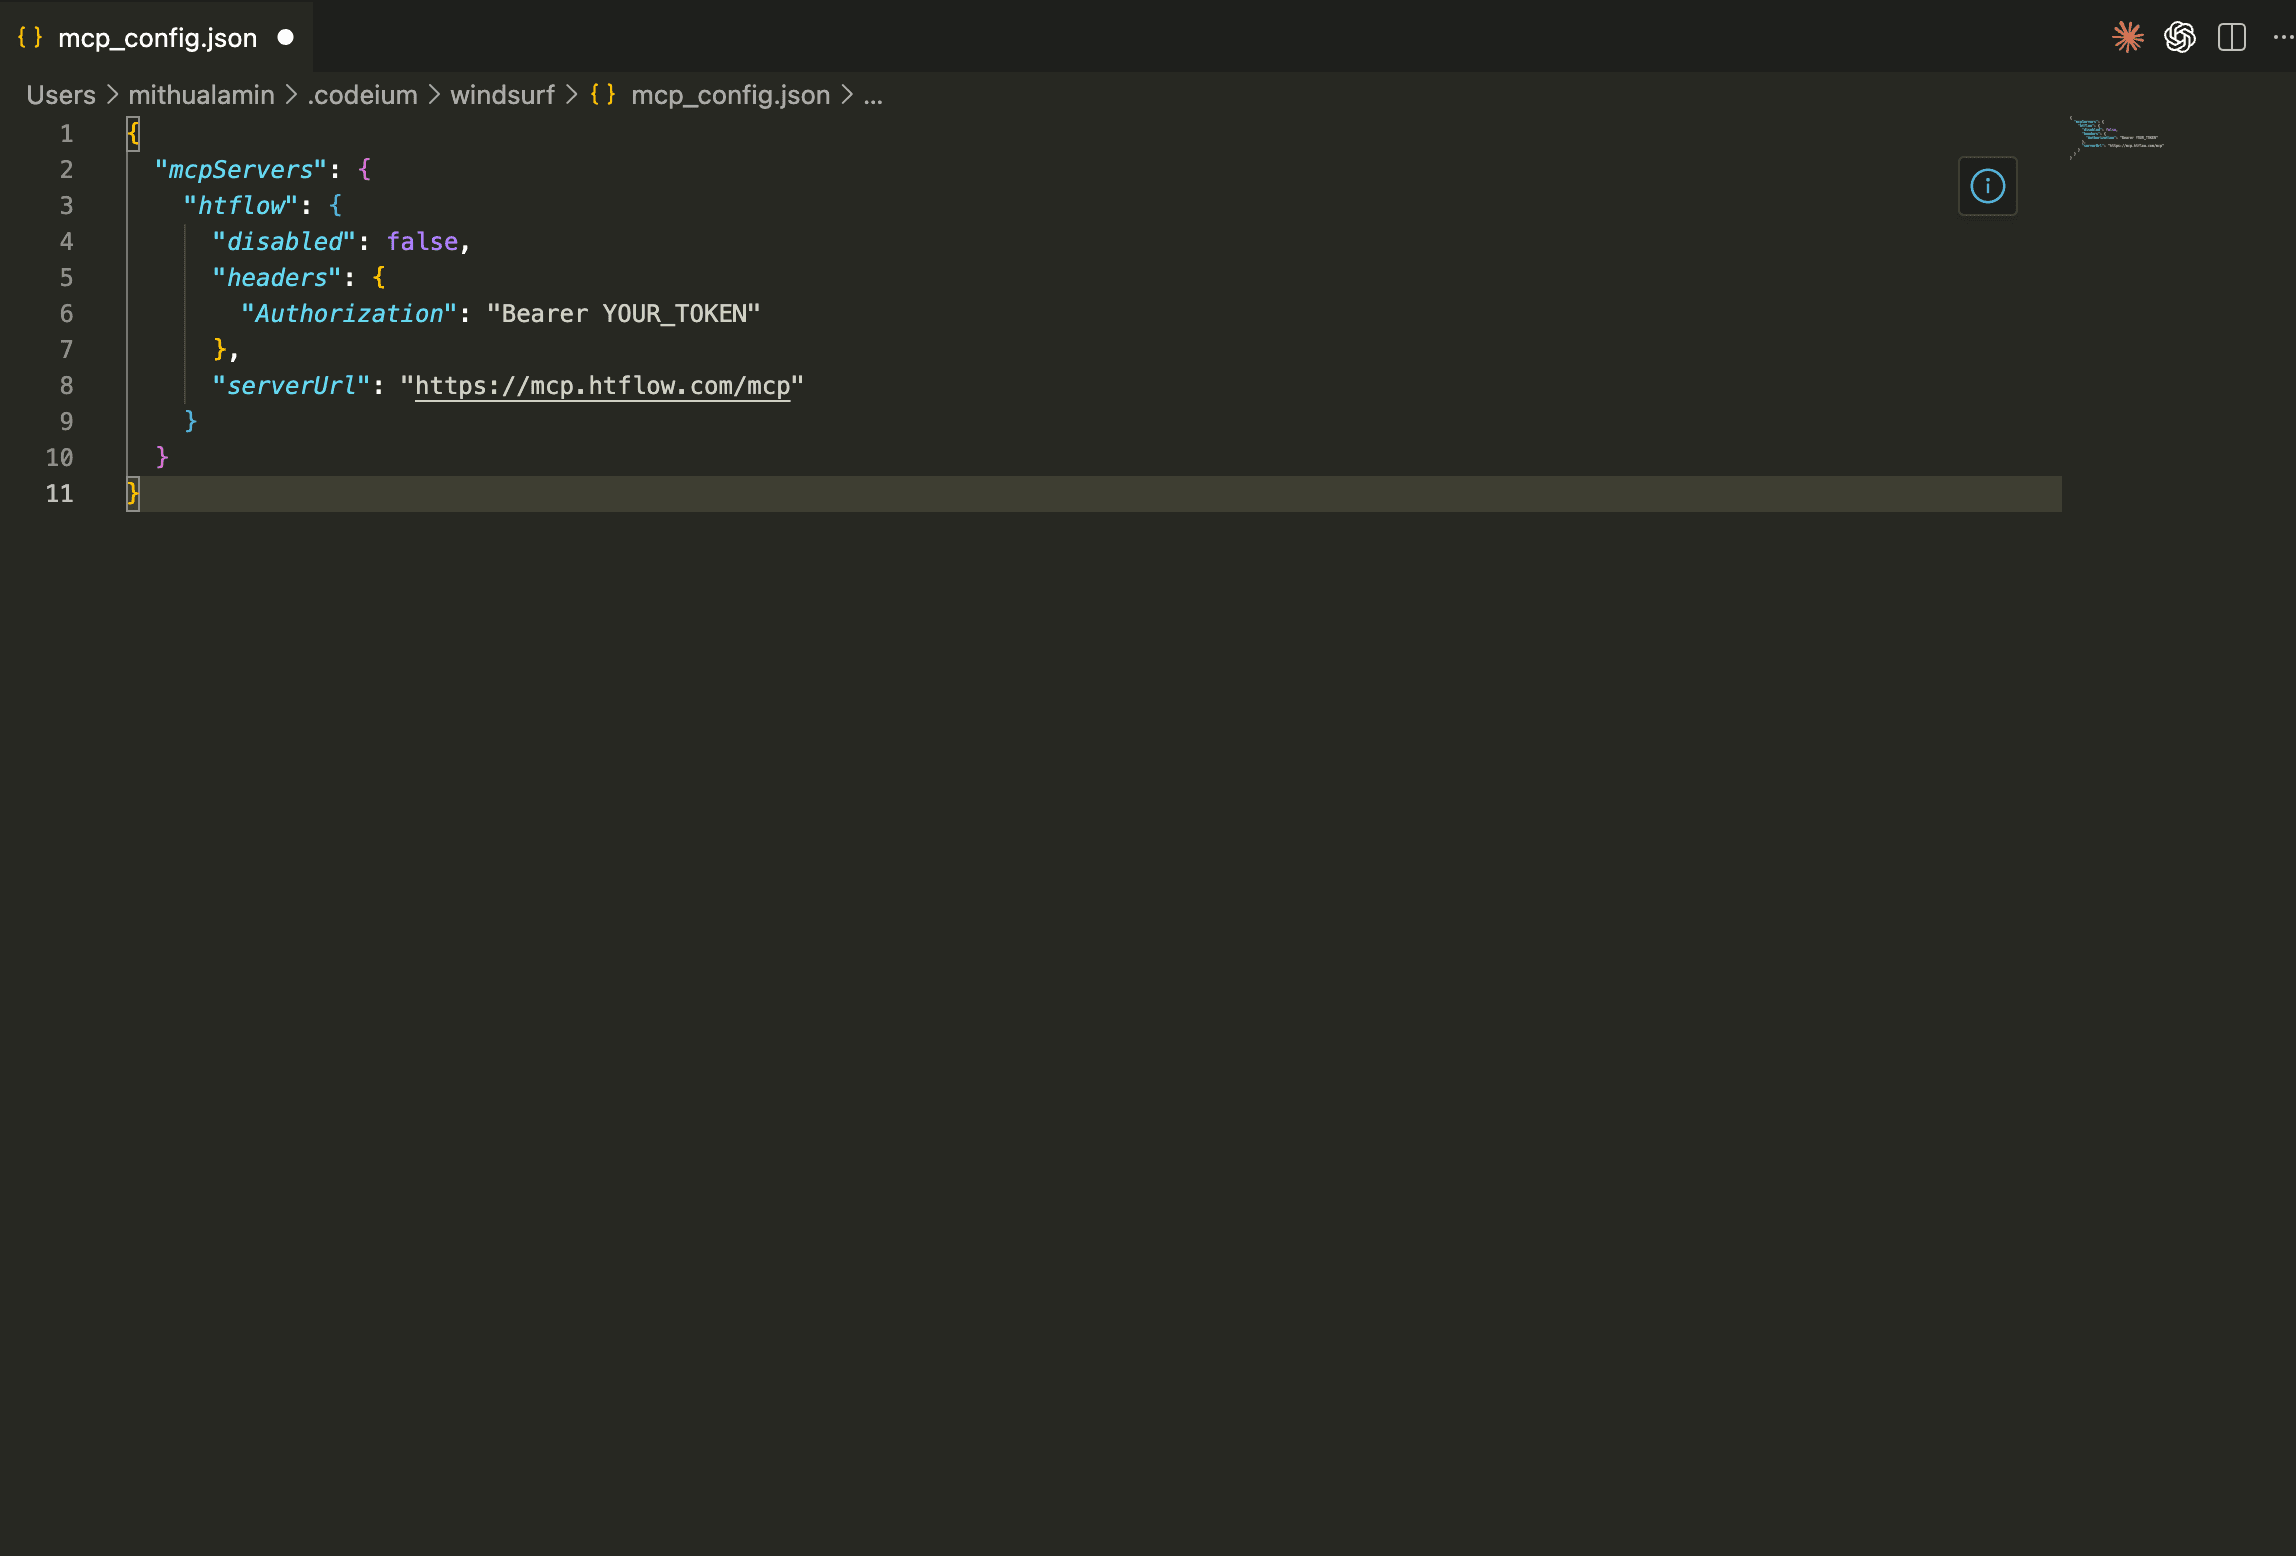
{
  "mcpServers": {
    "htflow": {
      "disabled": false,
      "headers": {
        "Authorization": "Bearer YOUR_TOKEN"
      },
      "serverUrl": "https://mcp.htflow.com/mcp"
    }
  }
}
Save the config and restart Windsurf. The MCP count should update to show "1 MCPs". You can now ask Cascade to generate a full website through HTFlow MCP.
Config snippet
{
  "mcpServers": {
    "htflow": {
      "disabled": false,
      "headers": {
        "Authorization": "Bearer YOUR_TOKEN"
      },
      "serverUrl": "https://mcp.htflow.com/mcp"
    }
  }
}